
By AI Landscape Design Team · Editorial policy
How to Measure Your Yard for Landscape Planning
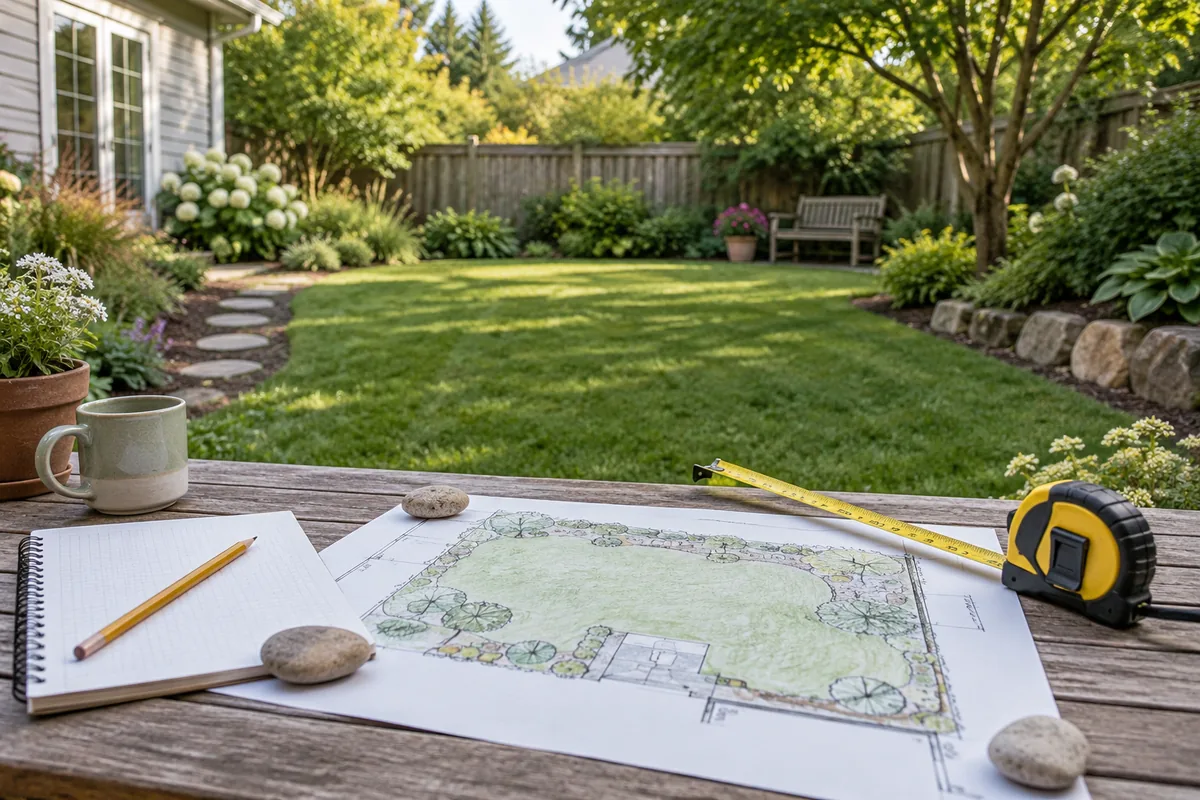
Measure your yard for initial landscape planning by choosing clear reference points, recording the boundary of the area you are studying, and locating fixed features from more than one reference. Keep measurements and observations separate, note uncertainties, and draw a readable sketch. This homeowner exercise supports a design discussion; legal boundaries, levels, buried utilities, and construction requirements need the appropriate professional investigation rather than assumptions from your sketch.
Last updated · 6 min read
Key takeaways
- Label reference points and record units consistently.
- Locate fixed features with independent checks.
- Distinguish a planning sketch from surveyed site information.
Planning steps
Prepare tools and a recording system
Gather a suitable measuring tape, a notebook or graph paper, and a way to label reference points. Work with a helper where practical so readings can be checked rather than guessed. Use consistent units throughout the sketch and record every dimension beside the feature it describes.
Choose and label a baseline
Select a stable, clearly identifiable reference line, such as a straight building edge you can safely measure. Label both ends on the sketch. Record what the line represents so another person can understand it later. Do not assume that surrounding fences, paving, or walls are square to it.
Locate corners and fixed objects
Record the dimensions that define the area you are studying, then locate fixed objects such as doors, steps, trees, and utility equipment. For an object that is not on the baseline, distances from two labeled reference points can help show its approximate position. This is a planning triangulation method, not a substitute for a survey.
Record access and uncertain conditions
Add gate openings, door swings, existing furniture, vents, and access routes that affect ordinary use. These are easy to miss when a sketch focuses only on the outside outline. Note areas where you could not measure safely or where vegetation hides an edge. Use a different annotation for estimated information rather than silently giving it the same status as a recorded dimension.
Draw the sketch and review it on site
Transfer the recorded information to a clear sketch with labeled reference points, units, and a date. Keep the raw measurements so they can be checked later. Use approximate symbols for fixed features and a separate list for unknowns. Walk the site again with the sketch and confirm that the relationships make sense before handing it to a designer.
Prepare tools and a recording system
Gather a suitable measuring tape, a notebook or graph paper, and a way to label reference points. Work with a helper where practical so readings can be checked rather than guessed. Use consistent units throughout the sketch and record every dimension beside the feature it describes. A photo can remind you of the setting, but it is not a replacement for a recorded measurement.
Decide what the initial sketch needs to communicate before trying to capture every detail. For a furniture discussion, the usable surface and entrances may be the priority. For a broader garden brief, fixed features and constraints will matter too. Keep a separate list of items that need professional verification. Do not claim survey accuracy from household tools or mark a legal property line simply because a fence appears to follow it. Avoid working in unsafe areas, near moving vehicles, or where access is uncertain. The purpose is to improve the information available for discussion, not to bypass qualified site assessment.
Choose and label a baseline
Select a stable, clearly identifiable reference line, such as a straight building edge you can safely measure. Label both ends on the sketch. Record what the line represents so another person can understand it later. Do not assume that surrounding fences, paving, or walls are square to it. Note obvious irregularities rather than drawing a convenient rectangle that changes the actual shape.
Measure the same baseline again as a simple check, and retain the written readings if they differ. Resolve the uncertainty before relying on other positions measured from that line. A baseline is a practical reference for the sketch, not proof of a boundary or a construction datum. Ask a qualified professional about property limits or level information required for the project. Existing drains, structures, and roots should be recorded as observations, not interpreted without expertise. A clear reference system lets a designer see which facts came from direct measurement and which items remain approximate or unresolved.
Locate corners and fixed objects
Record the dimensions that define the area you are studying, then locate fixed objects such as doors, steps, trees, and utility equipment. For an object that is not on the baseline, distances from two labeled reference points can help show its approximate position. This is a planning triangulation method, not a substitute for a survey. Keep the endpoints and measurement labels unambiguous.
Check the sketch against an additional measurement where safely possible instead of allowing one guessed position to control the rest of the drawing. Include the outline of a tree trunk or visible feature without inferring hidden roots or underground connections. Do not open equipment or investigate buried services yourself. In the United States, contact 811 before any digging and ask how private utilities must be located separately. Utility markings serve a specific safety process and should not be treated as complete construction documentation. A designer or other qualified professional may need different or more precise information before the next stage can proceed.
Record access and uncertain conditions
Add gate openings, door swings, existing furniture, vents, and access routes that affect ordinary use. These are easy to miss when a sketch focuses only on the outside outline. Note areas where you could not measure safely or where vegetation hides an edge. Use a different annotation for estimated information rather than silently giving it the same status as a recorded dimension.
Observe slopes, wet areas, and damaged surfaces without turning those observations into an engineering diagnosis. A photograph of a puddle or a sloping lawn does not establish its cause or the appropriate repair. Ask qualified local professionals to investigate drainage, grading, structural support, and tree concerns. Review hardscape when distinguishing constructed surfaces from planting, and note which part of each feature is actually visible. Avoid assuming that an irregular surface has usable furniture space everywhere inside its outer outline. Actual clearance and access requirements need review for the people who will use the area.
Draw the sketch and review it on site
Transfer the recorded information to a clear sketch with labeled reference points, units, and a date. Keep the raw measurements so they can be checked later. Use approximate symbols for fixed features and a separate list for unknowns. Walk the site again with the sketch and confirm that the relationships make sense before handing it to a designer.
Identify the next decision the sketch supports: a layout discussion, a furniture test, or a professional brief. It cannot specify construction quantities, legal boundaries, or finished levels. Review how to brief a landscape designer to organize the information. A visual concept may help compare arrangements, but actual dimensions and feasibility must be independently verified. Guides to steps and ramps or stone paving explain further considerations without supplying a site specification. If new work depends on accurate boundaries, elevations, or utilities, obtain the appropriate survey and professional input before purchases or excavation.
Frequently asked questions
Is my yard sketch a professional survey?
A homeowner sketch records useful planning information but does not establish surveyed boundaries, elevations, or construction accuracy. Keep its purpose and uncertainties explicit. Obtain the appropriate professional survey or site assessment when legal limits, engineering, or precise installation requirements matter.
Can I measure a yard from a photograph alone?
A photograph cannot reliably provide the site dimensions and levels needed for planning or construction. Measure accessible features directly for an initial sketch and note uncertainty. Qualified professionals must verify information required for the actual project rather than deriving it from visual scale.
Should utility equipment be included on the sketch?
Record visible utility equipment and access areas without opening or altering them. Buried services need the relevant locating process before excavation. In the United States, use 811 and clarify private utility needs separately; the sketch itself does not establish hidden service positions.
Sources
Related reading
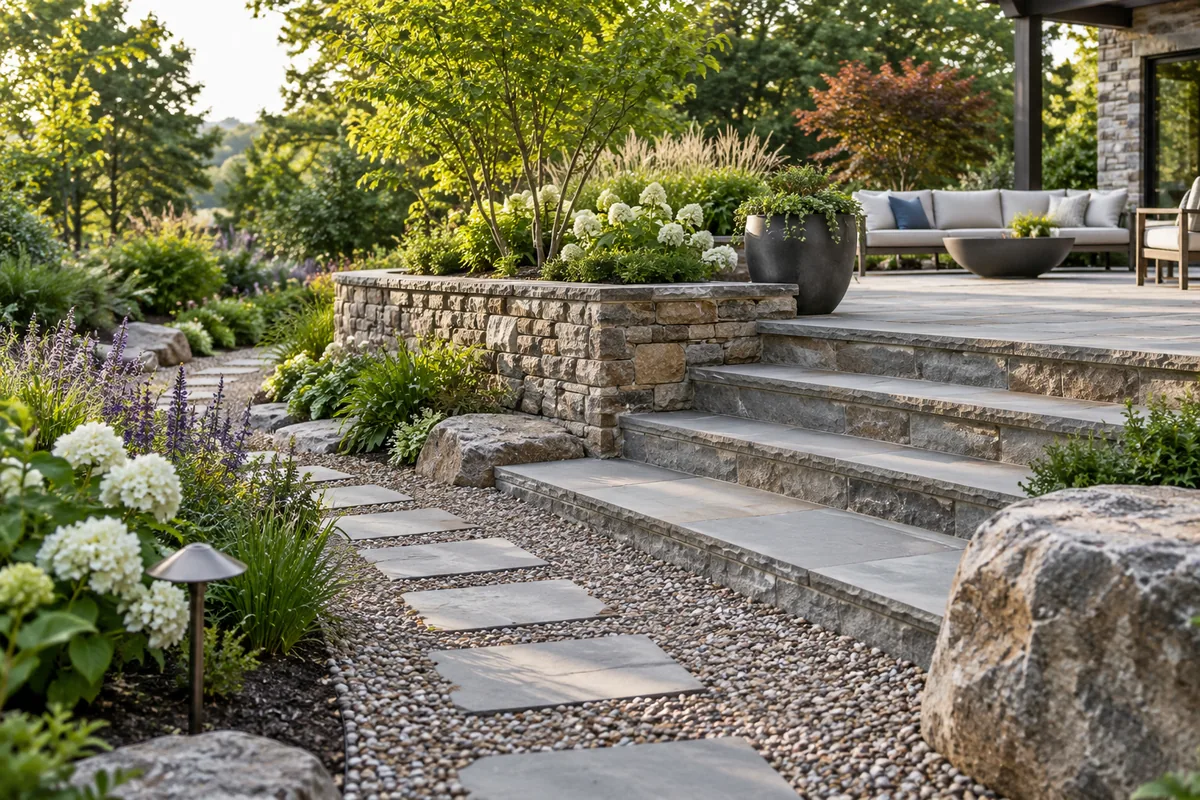
What Is Hardscape in Landscape Design?
Learn what hardscape means in landscape design, with a practical yard example, related terms, and the site decisions to check before making changes.

Desert landscape style: shade, stone, and plant form
Understand desert landscape style through plant form, mineral surfaces, useful shade, and heat-aware layouts, while separating its appearance from xeriscaping.