
By AI Landscape Design Team · Editorial policy
How to Design a Garden Bed Around Real Site Conditions
Design a garden bed by identifying the available space and conditions, testing a practical outline, and assigning plants different height and texture roles before choosing individual varieties. Keep circulation and maintenance access clear, repeat selected groups, and allow for mature spread. A visual arrangement is only a starting point: verify plants, soil, drainage, and any built edge locally before purchasing material or changing the ground.
Last updated · 6 min read
Key takeaways
- Test the bed outline before choosing plants.
- Plan mature growth and maintenance access together.
- Use repetition and a readable edge to organize variation.
Planning steps
Inspect the location and retained features
Record the actual light, soil, moisture, exposure, and existing growth at the proposed bed. The area may look empty in a photo while containing roots, services, or access needs that affect what can happen there. Identify features you intend to retain and points that must stay reachable.
Test the outline and useful depth
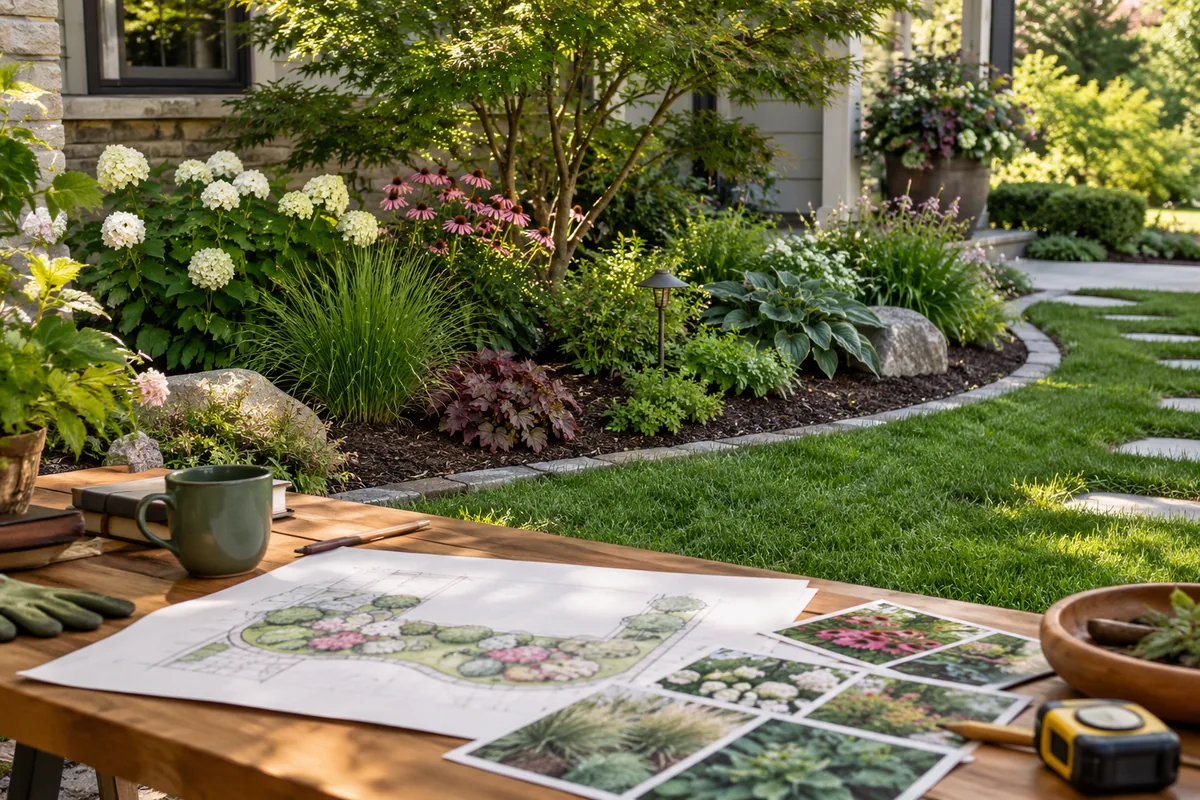
Mark a provisional bed outline with a safe temporary method and review it from the main viewing positions. Walk the surrounding routes rather than judging only the drawn shape. A curve should provide useful planting space and readable circulation, not simply imitate a garden photograph.
Assign foreground and background roles
Choose the visual jobs before selecting species: an edge, a middle texture or flower layer, and a background where the space supports it. The arrangement depends on viewing direction. A border seen from several sides may need another pattern rather than a simple tall-at-the-back rule.
Repeat selected groups and preserve access
Repeat a limited number of useful plant roles rather than buying one of everything that fits a color preference. Repetition can make a border legible while leaving variation in foliage and seasonal flowers. The pattern should respond to the bed rather than follow a fixed count from a reference design.
Choose the edge and review the whole bed
Decide whether the boundary needs a maintained line, an installed edge, or another treatment suitable for the site. A crisp outline can balance informal planting, but appearance does not establish retention, drainage, or safe levels. Ask qualified professionals about any built detail and keep trip risks or material movement out of the essential route.
Inspect the location and retained features
Record the actual light, soil, moisture, exposure, and existing growth at the proposed bed. The area may look empty in a photo while containing roots, services, or access needs that affect what can happen there. Identify features you intend to retain and points that must stay reachable. Check the USDA hardiness zone and seek local horticultural advice before turning the location into a plant list.
Decide what the bed should contribute: frame an entrance, provide a background to seating, or connect existing planting groups. One clear purpose makes the outline and palette easier to judge. Avoid treating every unused strip as needing dense planting. Space may be needed for a door, equipment, or ordinary movement. Drainage problems require qualified assessment rather than a flowering border intended to hide them. Before excavation in the United States, contact 811 and clarify private utility locating requirements. Record uncertain conditions beside the design notes so they remain visible when the planting is discussed.
Test the outline and useful depth
Mark a provisional bed outline with a safe temporary method and review it from the main viewing positions. Walk the surrounding routes rather than judging only the drawn shape. A curve should provide useful planting space and readable circulation, not simply imitate a garden photograph. Consider the actual depth needed for the intended mature planting roles without prescribing one dimension for every border.
Look at the bed from both the house and the garden. A shape that appears generous from one direction may leave a narrow awkward pocket elsewhere. Avoid isolated points that are difficult to maintain or force plants into a space they will outgrow. Check whether the outline remains practical around existing trees and surfaces. Changes to levels, walls, or retaining edges need qualified local advice. Keep a version of the outline that retains existing useful features, so the choice is not limited to a complete reconstruction. Temporary layout testing supports the discussion; it does not establish safe construction or soil conditions.
Assign foreground and background roles
Choose the visual jobs before selecting species: an edge, a middle texture or flower layer, and a background where the space supports it. The arrangement depends on viewing direction. A border seen from several sides may need another pattern rather than a simple tall-at-the-back rule. Use layered planting to explain those relationships and leave room for the expected growth.
Select locally suitable candidates for each role only after checking hardiness, soil, light, moisture, mature size, invasive status, and toxicity where relevant. A plant’s current container size is not its landscape footprint. Consider how the border looks outside flowering periods and where seasonal gaps will occur. Do not fill those gaps immediately with unrelated purchases; some space allows the planting to develop. Keep windows, gates, and important views clear as growth matures. A visual concept can explore the layers, but the exact palette requires independent confirmation rather than identifying plants from generated flowers or foliage.
Repeat selected groups and preserve access
Repeat a limited number of useful plant roles rather than buying one of everything that fits a color preference. Repetition can make a border legible while leaving variation in foliage and seasonal flowers. The pattern should respond to the bed rather than follow a fixed count from a reference design. Review the perennial flower guide and shrub guide for questions to ask about the real choices.
Plan how someone will water, weed, inspect, and remove seasonal growth without trampling crowns or compacting the soil unnecessarily. Leave access near hoses and utility equipment. Check how the planting reaches the surrounding route when mature. Where pets or children use the area, consult the ASPCA toxicity list and review physical hazards. Avoid combining a visually dense scheme with no practical means of care. An occasional open space or a simpler group may work better than a continuously full image. Record the maintenance expectations as part of the design so they are not postponed until after purchase.
Choose the edge and review the whole bed
Decide whether the boundary needs a maintained line, an installed edge, or another treatment suitable for the site. A crisp outline can balance informal planting, but appearance does not establish retention, drainage, or safe levels. Ask qualified professionals about any built detail and keep trip risks or material movement out of the essential route. The edge should make care easier to understand rather than create an inaccessible strip.
Review the bed alongside the house and adjacent surfaces, then remove details that do not serve its purpose. A photo-based concept can help compare planting density and visual relationships. AI concepts remain visual references; verify species, dimensions, soils, and construction locally. Keep the provisional plant list and unresolved questions separate from the image. Use how to plan a planting palette for the next selection discussion. Before buying, confirm that the outline, mature growth, access, and expected care all work together; a good-looking bed still needs feasible plants and maintainable details.
Frequently asked questions
How deep should a garden bed be?
The useful depth depends on available space, viewing directions, mature plants, and maintenance access. Avoid using one number for every border. Test the outline on site and discuss the actual planting with local experts before fixing dimensions or purchasing material.
Must plants always be tallest at the back?
A one-sided border may use taller growth as a background, but a bed seen from several directions needs another arrangement. Check the real views and mature spread. The goal is readable planting and clear access rather than compliance with one rigid layering rule.
Can I buy plants from the AI concept directly?
A concept image does not confirm exact species or local suitability. Use it to discuss shape, color, and planting density, then research real plants separately. Verify hardiness, soil, light, mature size, invasive status, toxicity, and care before purchase.
Sources
Related reading
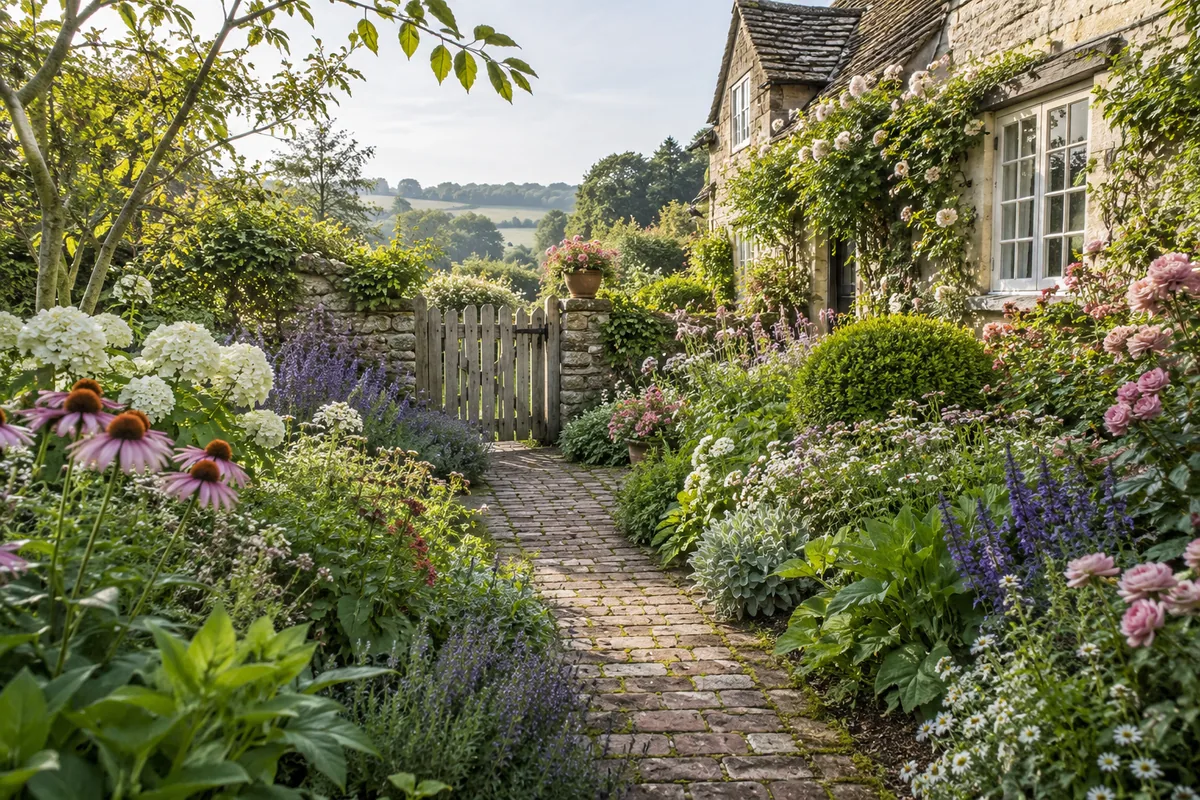
Cottage garden style: flowers with a working framework
Explore cottage garden style through layered flowers, selective self-seeding, clear paths, seasonal care, and the framework that makes informal planting usable.
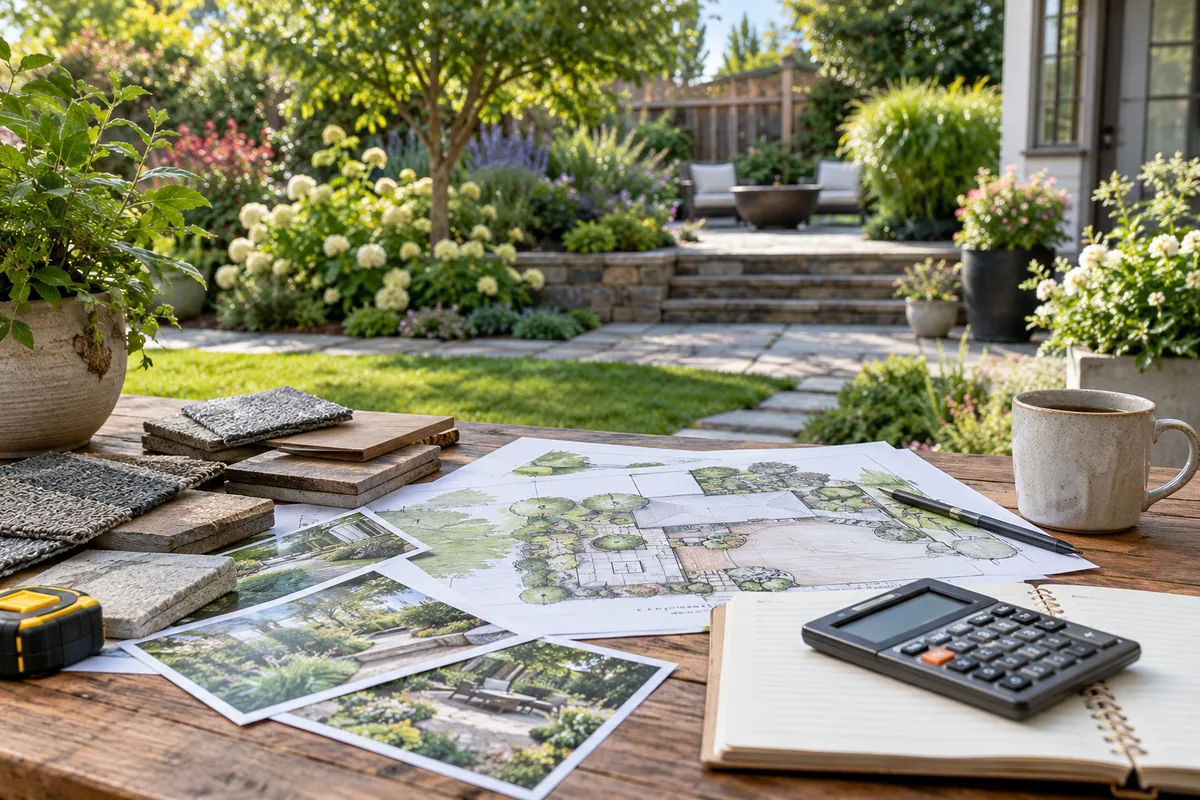
How to Set a Landscaping Budget Without Guessing Costs
Set a landscaping budget with a defined scope, separate cost categories, clear unknowns, and practical phases before comparing quotes for the actual project.
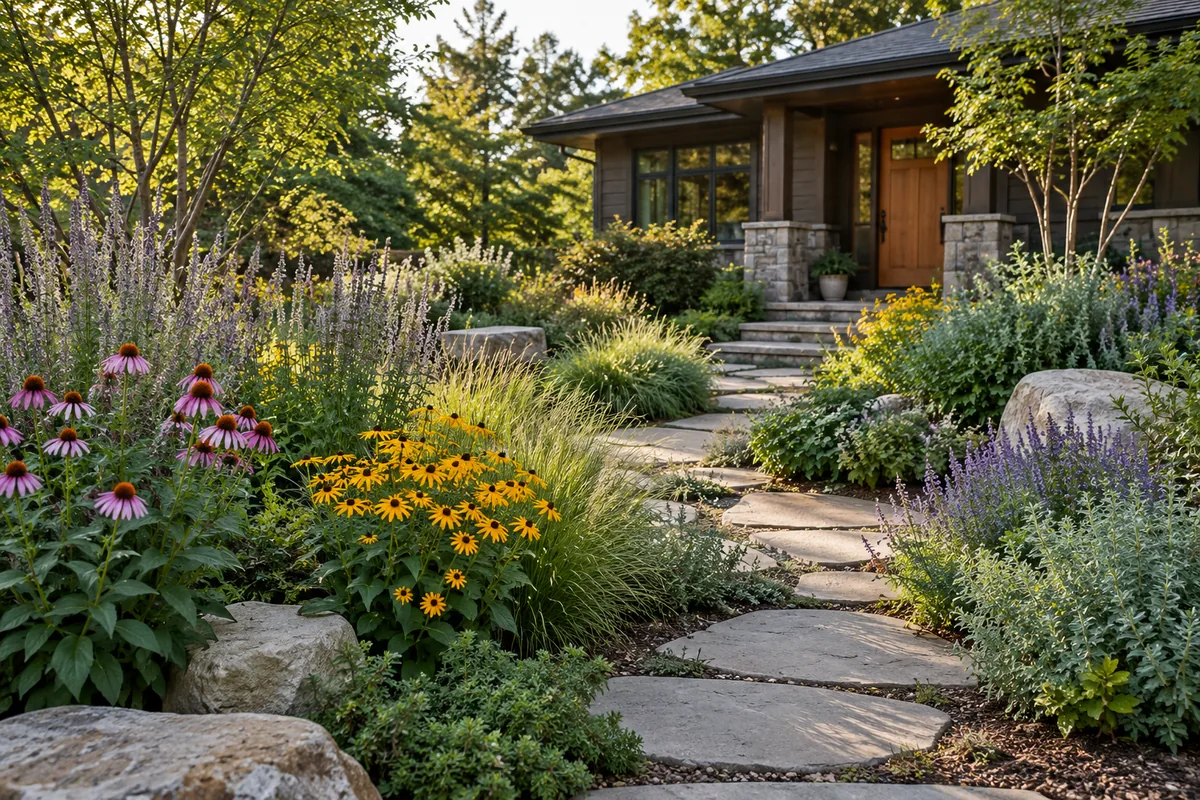
Native plant landscape style: regional plants with structure
Learn how native plant landscape style combines regional plant choices, seasonal change, and clear garden structure with practical care and neighborhood views.