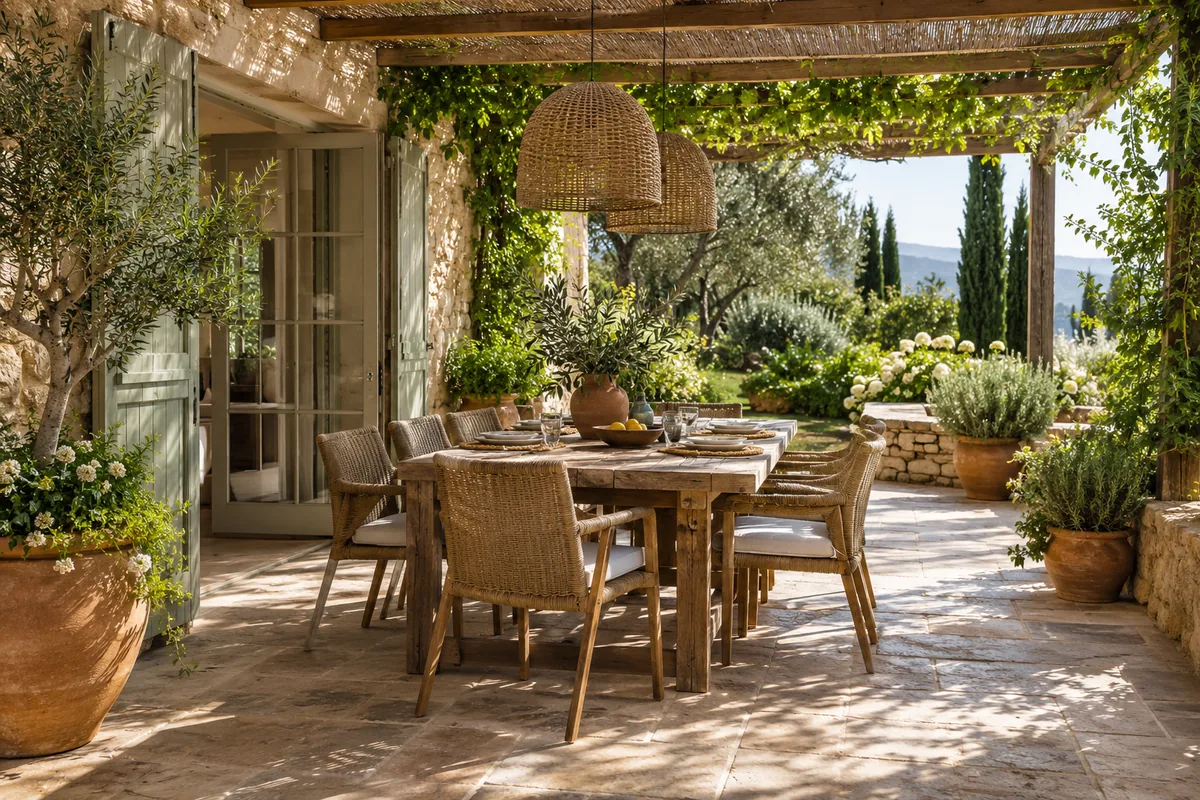
Patio Privacy Ideas Without Making the Space Feel Closed In
Plan patio privacy around real sightlines with seating orientation, partial screens, containers, planting layers, overhead cover, and lighting that preserve openness.
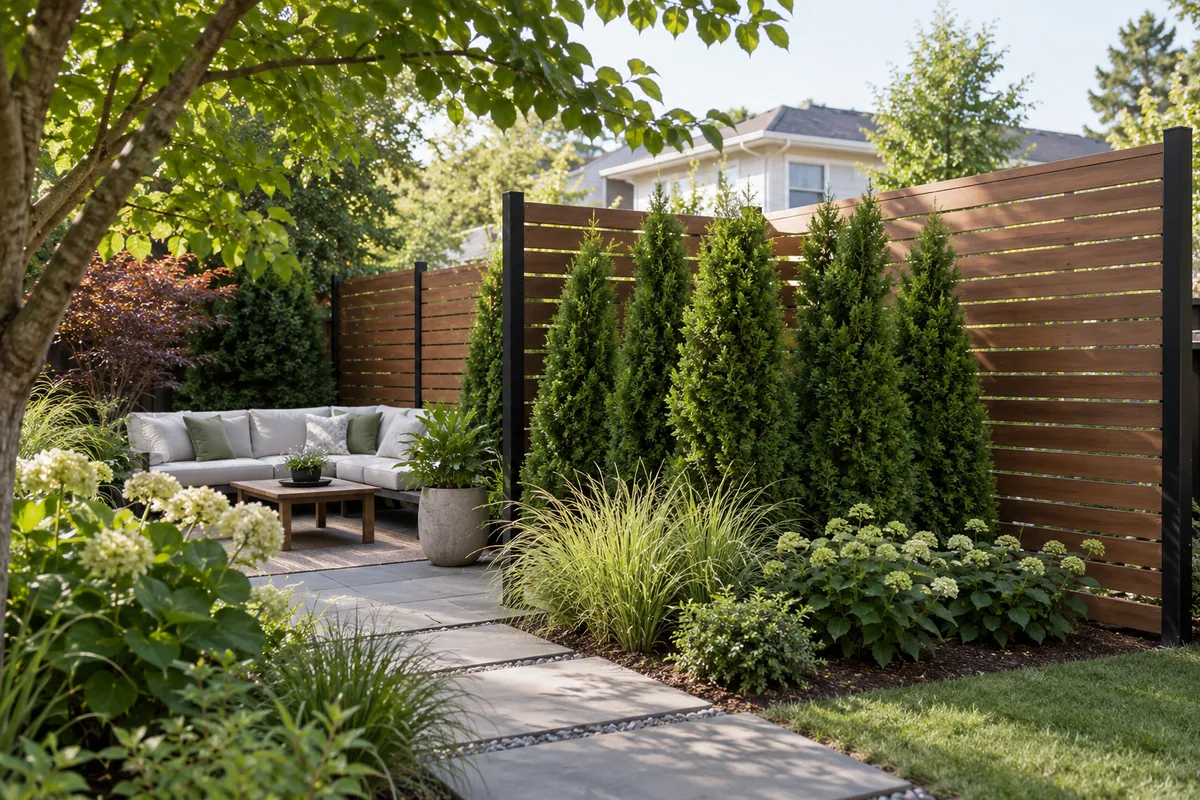
The most effective patio privacy ideas do not begin with a taller wall around every edge. They begin with one question: Who can see the activity you want to protect, and from where?
A patio can feel exposed from a neighboring window, an upper floor, a sidewalk, a shared driveway, or the interior of the home itself. Each view needs a different response. A screen that blocks a level view may do nothing about a downward view. A dense enclosure may create privacy but also remove daylight, airflow, borrowed views, and a sense of connection to the garden.
Start with the exact sightline, then use the smallest effective intervention. Rotate the seating, shift the activity, angle a partial screen, or place a planting layer close to the people using the patio. Treat fences, roofs, attachments, anchorage, property boundaries, and structural work as separate technical decisions that require local verification.
Audit privacy from the chair, not only from the property line
A plan view can show boundaries, but privacy is experienced at eye level. Review the patio while seated and standing, during the day and after dark.
Record five types of view:
-
Level sightlines: Views from nearby patios, sidewalks, doors, or ground-floor windows.
-
Diagonal sightlines: Views that cross a corner or arrive through a gap between buildings, fences, or plants.
-
Downward sightlines: Views from upper-story windows, balconies, stairs, or neighboring slopes.
-
Inside-out visibility: Views from your own kitchen, living room, or bedroom toward the patio.
-
Evening visibility: Views that become stronger when the patio is illuminated and the surroundings are dark.
Sit in the primary seat and mark the viewer’s likely position. Stand in the cooking, dining, or doorway zone and repeat the exercise. If appropriate and permitted, review the proposed screen from the neighbor-facing side as well. A solution that looks light from the patio may present a large blank surface elsewhere.
Do not rely on a single wide-angle photo. It may distort distance, height, and apparent coverage. Record real dimensions separately and verify the legal property boundary using reliable documents rather than fences, hedges, paving joints, or assumptions.
Use a sightline-first decision order
Before adding a large privacy structure, test the following sequence:
-
Rotate or move the activity. A chair turned away from an exposed direction may reduce the problem immediately.
-
Interrupt the exact line. Use a partial or angled screen rather than covering an entire edge.
-
Move the privacy layer closer to the activity. A well-placed element near the seating zone may need less height and width than a distant perimeter treatment.
-
Combine a reliable layer with a softer layer. For example, pair a narrow screen with containers instead of expecting plants alone to provide immediate coverage.
-
Add overhead treatment only when the downward view justifies it. Verify structure, wind, drainage, fire, and approvals independently.
This order preserves more of the patio’s light and openness. It also makes each intervention easier to test before committing to a permanent project.
1. Rotate the seating away from the exposed view
Changing furniture orientation is the least permanent privacy move and often the most overlooked.
Turn the main chairs so people look toward the garden, house, or a focal container instead of toward the neighboring view. A high-backed chair, compact bench, or strategically placed side table may reinforce the new orientation without becoming a wall.
Test the arrangement in use. Confirm that chairs do not block doors, stairs, drains, rails, or required routes. A privacy gain is not useful if the layout makes the patio harder to enter or leave.
This approach works best when exposure comes from one direction. If several viewers can see the patio from different heights, orientation may reduce the feeling of exposure but will not solve every sightline.
2. Shift the activity zone before building a screen
A dining table or lounge placed directly on an exposed axis may require a much larger screen than the same activity moved a few feet toward a sheltered wall or corner.
Use existing conditions as part of the privacy strategy:
-
A solid house wall.
-
An approved fence or garden wall.
-
A change in elevation.
-
An existing tree canopy.
-
A recessed corner.
-
A covered section of the patio.
Keep door operation, ventilation, utility access, and drainage in mind. Do not move seating so close to a cooking appliance, open edge, or service area that privacy creates a new safety conflict.
3. Use a partial screen instead of a full enclosure
A partial screen targets the occupied zone while leaving another portion of the patio open. It can protect the dining table or primary chairs without turning the entire space into a box.
Possible visual directions include:
-
A narrow panel beside the main seat.
-
A short run of open slats.
-
A screen that begins above a low solid base.
-
A panel paired with a container group.
-
A freestanding element positioned near the activity.
The amount of openness should respond to the real sightline. Wider gaps may preserve light and airflow but reveal more from an angle. Narrower gaps may improve screening while increasing wind forces and visual mass.
A screen is also a wind-exposed structure. Do not assume deck boards, railings, a fence, loose ballast, or a planter can support it. Verify the load path, attachment, footing, and property rules for the actual site.
4. Angle the screen toward the viewer
An angled screen can block a diagonal view with less material than a screen parallel to the patio edge.
Mark the viewer’s position and draw an imaginary line toward the primary seat. Rotate a temporary cardboard panel, fabric mockup, or movable object until it interrupts that line. Then review the patio from inside the home and from other seats.
This method is especially useful near shared driveways, side passages, neighboring doors, or oblique upper-floor windows. It can preserve an open view toward the garden while closing only the exposed corner.
Keep the screen within the verified property area and out of circulation. Do not place it where it blocks a required guard, creates a climbable condition near an open edge, or interferes with gates, utilities, doors, drains, or emergency access.
5. Place the privacy layer near the seating zone
A privacy element at the distant boundary may need to be large because the line of sight can pass over it. Moving the layer closer to the seated activity can sometimes provide useful screening with a smaller visual footprint.
Examples include:
-
A narrow planter group behind a bench.
-
A partial screen beside a conversation area.
-
A trellis located near the table rather than at the far edge.
-
A lightweight-looking visual divider between two patio functions.
“Closer” does not mean crowded. Preserve room to use the furniture, maintain the plants, clean the surface, and reach the exit. On elevated patios, do not position furniture or climbable objects where they compromise the function of a guard.
6. Combine a dependable screen with softer planting
Plants change with seasons, growth, pruning, stress, and weather. A young plant may take years to reach the size shown in a concept image. Deciduous plants may lose coverage in winter. For privacy that must work immediately or year-round, use planting as one layer rather than the only promise.
A layered combination might use:
-
A narrow open screen for immediate interruption.
-
One upright container plant for height.
-
Medium foliage to soften the base.
-
A lower seasonal layer for color.
Select plants by mature dimensions, local climate, sun, wind, water needs, toxicity, invasiveness, and maintenance access. Avoid universal “best privacy plants” lists. A species that is narrow in one climate may grow differently, fail, or become invasive elsewhere.
University of Maryland Extension’s guidance on mixed privacy screens explains the value of diversity and layered planting rather than relying on one uniform row. On a patio, the same principle should be scaled to the available container volume and real maintenance capacity.
7. Use grouped containers as a movable privacy test
Containers can help test height, density, and location before a more permanent installation. Grouping them is usually more effective than scattering individual pots along every edge.
Use a tall anchor, a medium layer, and a low or trailing layer where it will not enter circulation. Place the group along the problem sightline, then sit down and assess whether it blocks the view that matters.
Container privacy has limits:
-
Plants may not retain foliage year-round.
-
Tall growth and lightweight pots can be unstable in wind.
-
Large saturated containers can be extremely heavy.
-
Water can stain surfaces or affect areas below.
-
Roots and plants need realistic soil volume and maintenance.
On decks, balconies, and roof terraces, obtain approved structural information before installing substantial container groups. Do not use a generic load value or assume that spreading pots around makes the loads acceptable.
8. Use a trellis for narrow, selective coverage
A trellis can create a slim visual layer where a deep hedge or broad container group will not fit. It may be freestanding, integrated with a planter, or attached only where the property owner and construction conditions permit.
Choose the support and plant as a system. Consider:
-
Mature plant weight and spread.
-
Seasonal coverage.
-
Pruning access.
-
Wind exposure.
-
Attachment or footing requirements.
-
Water near the building.
-
Possible effects on neighbors and shared boundaries.
A generated image may show a lush, perfectly controlled climber. Real plants can extend beyond the support, enter gutters, cover lights, trap moisture, or become difficult to maintain. Confirm the species and support through reliable regional and product-specific guidance.
9. Preserve a borrowed view
Privacy does not require blocking every outward view. A borrowed view of a tree canopy, sky, garden, or distant landscape can help a patio feel larger and less enclosed.
Screen the distracting or exposed zone while framing the part worth keeping. A partial panel might cover a neighboring window but stop below the tree canopy. A container group might block a driveway view while leaving the garden axis open.
Before preserving a view, recognize that off-site conditions can change. A neighboring tree can be removed, a building can be altered, or vegetation can be pruned. Treat borrowed scenery as a visual benefit, not a permanent right.
10. Address downward views with selective overhead cover
A tall side screen may not solve exposure from an upper-story window or elevated neighboring site. First move the seating or place it beneath an existing approved cover. If that is not enough, explore a limited overhead element rather than roofing the entire patio.
Visual options may include:
-
A small canopy over the primary seat.
-
A pergola-like frame with selective overhead density.
-
An umbrella designed and operated according to its instructions.
-
Tree canopy where the species, roots, and site are suitable.
Every structural-looking overhead element raises questions about wind uplift, anchorage, rain and snow loads, drainage, waterproofing, combustible clearances, permits, and property rules. Temporary equipment also needs a realistic high-wind removal or storage plan.
Do not treat a planter, loose weight, generic stake, or attachment to deck boards as verified anchorage. FEMA’s general high-wind preparation guidance reinforces the need to secure or bring in outdoor items, but permanent structures require project-specific design and local approval.
11. Preserve light and airflow with layered gaps
A patio can feel closed in when privacy elements form one continuous opaque plane. Use variation where the sightline permits it:
-
Solid coverage at seated eye level with a more open upper portion.
-
A partial screen combined with foliage.
-
One screened corner and one open edge.
-
Offset layers instead of one long wall.
-
Planting that filters a view rather than eliminating it.
Review the effect at different times of day. A screen may cast welcome afternoon shade but make an interior room darker. Dense planting may reduce a breeze that previously cooled the patio. In humid climates, limited airflow can also increase plant and surface maintenance.
No single openness percentage works everywhere. Test temporary mockups and evaluate the actual patio, neighboring views, wind, and building conditions.
12. Design for evening privacy
A patio that feels private in daylight may become highly visible after dark. When the patio is brighter than its surroundings, people and activities can appear as illuminated subjects.
Use only the light needed for routes, steps, tasks, and comfortable social use. Aim fixtures downward, shield the source, and reduce spill beyond the patio. Controls such as dimmers, timers, and occupancy sensors can limit unnecessary brightness.
The National Park Service’s outdoor-lighting principles emphasize using light only where and when it is needed, aiming it carefully, and limiting brightness. These principles can improve visual comfort and reduce light trespass toward neighboring windows.
Do not use dense screens as a substitute for thoughtful lighting. A bright fixture can create glare on the patio while still revealing silhouettes through gaps. Review the scene from the house, property edge, and likely neighboring viewpoints after dark.
13. Make the neighbor-facing side intentional
A privacy element has two sides. Review the side visible from a shared space or neighboring property when access and permission allow.
Consider:
-
Whether the finish is complete on both sides.
-
Whether runoff, leaves, or soil could cross the boundary.
-
Whether planting will grow beyond the property area.
-
Whether the element reflects glare or directs light outward.
-
Whether maintenance requires entering someone else’s property.
-
Whether the height and appearance require approval.
A cooperative conversation can help identify the real concern, but it does not replace permits, surveys, easements, or written property rules.
14. Use sound and comfort features carefully
Visual privacy can improve perceived comfort, but it does not guarantee acoustic privacy. A screen may change how sound reflects without making conversation inaudible beyond the patio.
Soft planting, outdoor-rated textiles, and a modest water feature may alter the patio’s atmosphere, but avoid claiming that they soundproof the space. Water features also introduce weight, power, maintenance, splash, winterization, and standing-water concerns.
If noise is the primary problem, identify the source and seek appropriate acoustic or site-specific guidance rather than building a tall visual barrier based on appearance alone.
15. Favor reversible privacy for rentals and shared buildings
Renters, condominium residents, and people in managed communities may need privacy solutions that can be removed without drilling or altering shared property.
Possible directions include:
-
A freestanding screen designed for the exposure.
-
A compact container group within approved weight limits.
-
Furniture orientation and a movable high-backed seat.
-
Outdoor curtains only on an existing approved structure and only when wind, fire, and building rules permit.
-
A temporary visual mockup used to request approval for a permanent solution.
“Freestanding” does not automatically mean safe. The element still needs adequate stability for the actual wind exposure and must not block doors, drains, rails, sprinklers, utilities, or exits.
Confirm lease, HOA, condo, and building requirements before purchase. Shared-building fire rules may restrict grills, heaters, fabrics, combustible screens, and items placed near exits or balconies.
Three privacy patterns to test
These are sightline diagrams in words, not construction plans.
A level view from one side
Use when the main exposure comes from a neighboring patio, sidewalk, driveway, or ground-floor window.
-
Rotate seating away from the viewer.
-
Put a partial screen beside or behind the primary seat.
-
Angle the screen toward the viewer if the sightline is diagonal.
-
Add one soft planting layer.
-
Leave the opposite edge open for light and a garden view.
A downward view from above
Use when upper windows, balconies, stairs, or a higher site overlook the patio.
-
Move the primary seat toward an existing sheltered area.
-
Use a limited overhead layer above the occupied zone.
-
Avoid excessively tall side walls that still fail to block the downward angle.
-
Verify wind, structure, drainage, fire, permits, and attachments.
-
Keep doors, exits, and open edges unobstructed.
Several partial views around a small patio
Use when no single viewer dominates but the patio feels exposed from multiple directions.
-
Create one protected corner rather than enclosing the full perimeter.
-
Use offset layers: a screen, a container group, and seating orientation.
-
Preserve one outward view and one open route.
-
Review the layout from seated and standing positions.
-
Test evening lighting before adding more screening.
Visualize the sightline before building
After identifying the viewer and the activity you want to protect, use the Patio and Terrace Design tool to compare a few visual directions from a current patio photo.
The tool starts from one patio or terrace image and allows you to select a use direction, visual style, optional elements, features to keep, broad location context, and additional requirements. There is no dedicated Privacy control. Describe the privacy problem in the custom requirements and select only relevant visual elements.
A useful request names the observer and the view to preserve:
Keep the patio footprint, sliding door, steps, attached railing, drain, and open garden view. Reduce the seated sightline from the neighboring second-floor window at the right. Explore one angled partial screen near the lounge and a grouped container layer below it. Preserve daylight, airflow, the left-side view, and a direct route to the door. Do not add a full perimeter wall or alter the building.
For a level view:
Keep all doors, rails, stairs, drains, and boundaries visible. Reduce the diagonal view from the shared driveway toward the dining table using a narrow partial screen and planting near the seating zone. Leave the garden-facing side open and do not add a roof, fence replacement, or structural changes.
Specific wording makes the result easier to compare, but it does not guarantee that the model will preserve every feature or block the real sightline. The image does not know the legal boundary, observer height, structural system, wind design, or adopted rules.
Use a source photo that shows the patio surface, doors, stairs, rails, drains, boundaries, and the direction of exposure. Remove people, house numbers, documents, and unnecessary identifying details, and upload only an image you have the right to use. For the broader workflow, see how to use AI for garden visualization.
You can also browse landscape before-and-after concepts to see how visual layers change the character of an existing outdoor space without treating the rendered result as proof of construction.
Privacy, property, and safety boundaries
Patio privacy decisions can affect more than appearance.
Boundaries, easements, and approvals
A fence, wall, hedge, or paving edge may not mark the legal property line. Use a current survey or other reliable property information. Check setbacks, easements, permits, height restrictions, HOA rules, condo rules, landlord approval, and shared-property responsibilities before installing anything.
Do not place footings, posts, roots, drainage, or maintenance access beyond the verified project area. If digging is required in the United States, contact 811 Before You Dig and follow state-specific instructions.
Wind and anchorage
Solid and semi-solid screens, curtains, trellises, canopies, umbrellas, and dense planting can experience substantial wind forces. Visual mass and physical stability are not the same. Obtain site-appropriate attachment or structural guidance and follow product instructions.
Elevated patios and guards
On balconies, decks, and roof terraces, account for the combined weight of saturated containers, screens, furniture, people, and other concentrated loads. Do not attach privacy elements to guards or replace required guards with benches, planters, cables, or screens without qualified approval.
Waterproofing and drainage
Posts, fasteners, planters, mats, and screens can affect drainage or concealed waterproofing. Keep drains and scuppers visible and serviceable. Do not make unapproved penetrations into a roof, deck, wall, or waterproofed surface.
Fire, doors, and exits
Keep doors operational and required routes unobstructed. Screens, curtains, furniture, plants, grills, heaters, and fire features can affect combustible clearances and emergency movement. Follow appliance instructions and local building, fire, multifamily, HOA, and lease rules.
AILandscape provides conceptual visualizations, not a survey, measured plan, planting verification, structural design, wind calculation, code review, permit approval, drainage design, accessibility assessment, or guarantee of privacy. Confirm real dimensions, observer positions, boundaries, products, site conditions, and legal requirements before implementation.
Final patio privacy checklist
Before choosing a solution, confirm:
-
The exact viewer and sightline have been identified.
-
Seated, standing, diagonal, downward, inside-out, and evening views have been reviewed.
-
Furniture orientation and activity location were tested before adding a large structure.
-
The proposed layer blocks the problem view while preserving a useful open view.
-
Doors, stairs, rails, drains, utilities, and exits remain clear.
-
Plant mature size, seasonal coverage, toxicity, invasiveness, and local suitability are verified.
-
Wind, anchorage, weight, waterproofing, fire, and attachment questions have been resolved appropriately.
-
The property boundary, easements, permits, and HOA, condo, or lease rules have been checked.
-
Lighting is directed, shielded, and no brighter than needed.
-
The neighbor-facing side and long-term maintenance have been considered.
-
Any generated image is being used to compare visual strategies, not to guarantee coverage or feasibility.
The strongest patio privacy idea is usually the most targeted one. Protect the activity that matters, interrupt the real sightline, and keep the rest of the patio open enough to retain light, airflow, movement, and connection to the landscape.